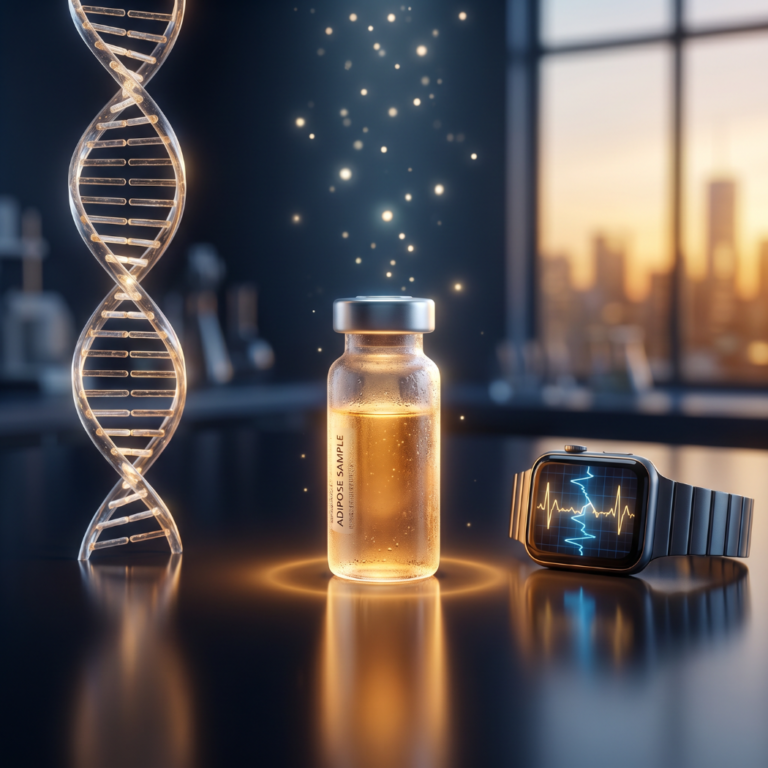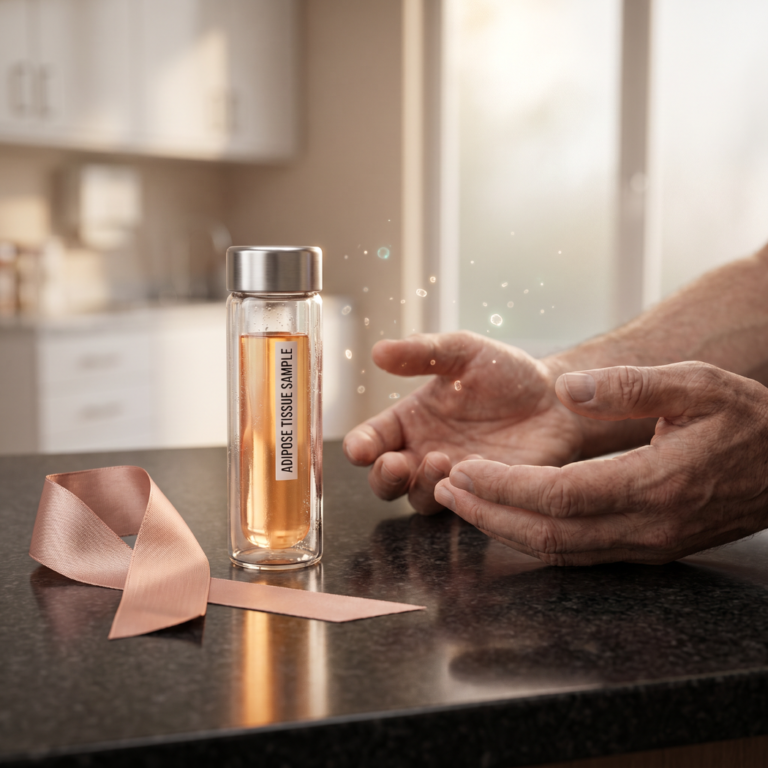

The banking harvest is a thirty-minute outpatient procedure performed under local anesthesia at a Save My Fat partner provider’s office. No hospital, no general anesthesia, and most patients return to normal activity the same day or the following day. Knowing exactly what to expect before you arrive makes the experience more comfortable and helps you prepare practically for the appointment, the recovery, and the weeks that follow while your cells are being processed. This guide walks through the full banking day from pre-appointment preparation through receiving your viability certificate.
TLDR: You arrive at the provider’s office, review and sign consent paperwork, the harvest site is marked and numbed with local anesthesia, a small-bore cannula removes a small volume of fat tissue from your abdomen or flank in about thirty minutes, the specimen is packaged and shipped to L2 Bio, and you go home. Most patients feel back to normal within 24 to 48 hours. Your viability certificate arrives within a few weeks of your procedure.
Important Disclaimer: The procedure experience described in this post reflects the general Save My Fat banking protocol. Individual provider practices, facility protocols, and patient-specific circumstances may vary. Always follow the specific preparation and post-procedure instructions provided by your Save My Fat partner provider. This post is for general educational purposes and does not substitute for the medical guidance of the physician performing your harvest.
You have done the research, worked through the decision, and booked your appointment. The hardest part is behind you. The procedure itself is straightforward, shorter than most dental appointments, no sedation, and no dramatic recovery. This guide tells you exactly what to expect so there are no surprises.
Before Your Appointment: How to Prepare
The week before. Avoid blood-thinning medications and supplements (aspirin, ibuprofen, fish oil, vitamin E) for the period your provider specifies, which is typically seven to ten days before the procedure. Confirm the specific list with your provider, because individual provider protocols may vary slightly. Stay well-hydrated in the days leading up to the appointment. Avoid significant weight changes before the procedure, because the harvest site assessment is based on your current body composition and rapid changes can affect the planning. Do not schedule strenuous physical activity for the day of the procedure itself.
The day before. No alcohol for at least twenty-four hours before the procedure. Confirm your appointment time and your provider’s specific pre-procedure instructions, including any changes to the timing or the preparation steps that may have been communicated after booking. Arrange transportation if needed. Most patients drive themselves home, but if your provider recommends accompaniment for the return trip based on your specific circumstances, arrange it in advance rather than the morning of.
The morning of. Eat and hydrate normally unless your provider gives specific fasting instructions. Banking is not a surgical procedure requiring general anesthesia fasting protocols, and most patients proceed with their usual morning routine including breakfast. Wear comfortable, loose-fitting clothing. The harvest is typically performed at the abdomen or flank, and loose waistbands are more comfortable than fitted clothing both during and after the procedure. Bring a valid ID and any completed intake paperwork your provider sent in advance. Save My Fat’s resource on questions to ask before banking is worth reviewing one more time if you have lingering questions you want to raise at check-in.
What Happens When You Arrive
Check-in and intake. You arrive at the partner provider’s office and check in as you would for any outpatient appointment. The office staff will confirm your paperwork, collect any outstanding intake forms, and bring you to the procedure room. Most offices have a standard outpatient flow, so the front-of-house experience will feel familiar rather than unusual.
Informed consent review. Before the harvest begins, you will review and sign the informed consent documentation. This covers what the procedure involves, the risks of the minor outpatient harvest (bruising, soreness, small risk of infection at the harvest site), what banking does and does not provide, and the chain-of-custody process for your specimen under the regulatory framework at 21 CFR Part 1271. Read the consent documentation carefully and ask any questions before signing. Save My Fat’s overview of informed consent in regenerative medicine covers the framework in more depth if you want context on what you are reviewing.
Harvest site marking. The provider will assess and mark the harvest site, typically the lower abdomen or flank. The site is chosen based on available tissue volume, accessibility, and patient comfort. The provider will review the planned site with you and address any questions before proceeding. This is a reasonable moment to raise any positioning preferences or body-composition questions you have.
The Harvest Procedure
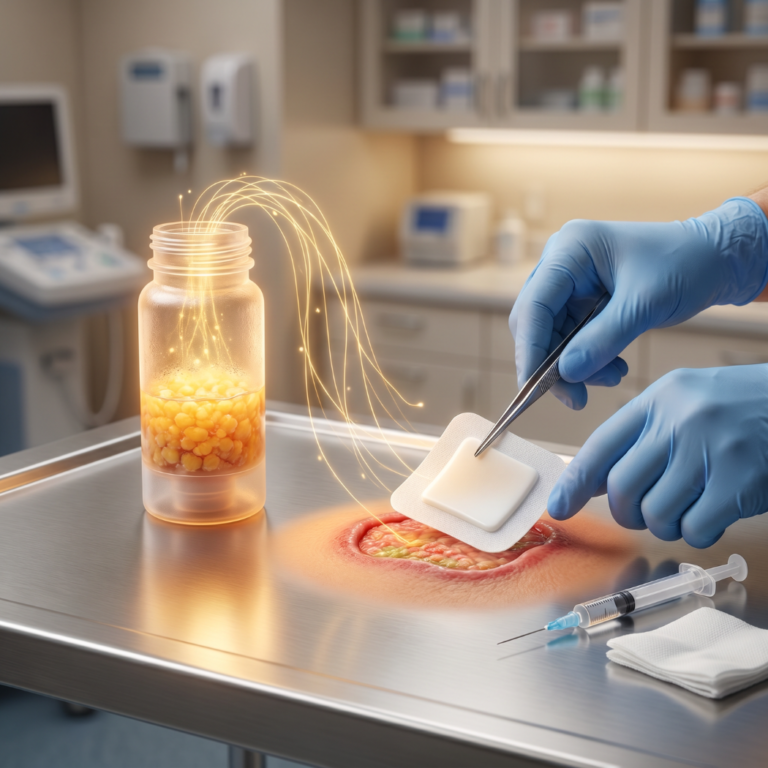
Local anesthesia. The harvest site is cleaned and a local anesthetic, typically lidocaine, is injected to numb the area. You will feel the initial injection, which may sting briefly. After a few minutes, the harvest site is numb and you should feel pressure but not pain during the procedure itself. The numbing effect typically lasts several hours, which covers the full harvest and part of the immediate post-procedure period.
The harvest. A small-bore cannula is inserted through a tiny entry point at the harvest site. The provider uses the cannula to remove a small volume of adipose tissue. The procedure takes approximately twenty to thirty minutes. You are awake throughout. Most patients report feeling pressure and mild movement sensation at the harvest site but no significant pain. The foundational Zuk 2002 paper established the scientific basis for why adipose tissue is the preferred cell source for this kind of harvest, and Save My Fat’s overview of how banking works covers the procedural context in more depth.
Completion. Once the target tissue volume is collected, the cannula is removed. The entry point is closed, in most cases with surgical tape or a small adhesive closure rather than sutures. A light compression dressing or bandage is applied to the harvest site.
Total time in the procedure room is approximately forty-five to sixty minutes including preparation, anesthesia, the harvest itself, and dressing. Most patients are surprised by how quickly the appointment moves once the procedure begins.
The Specimen Handling Process
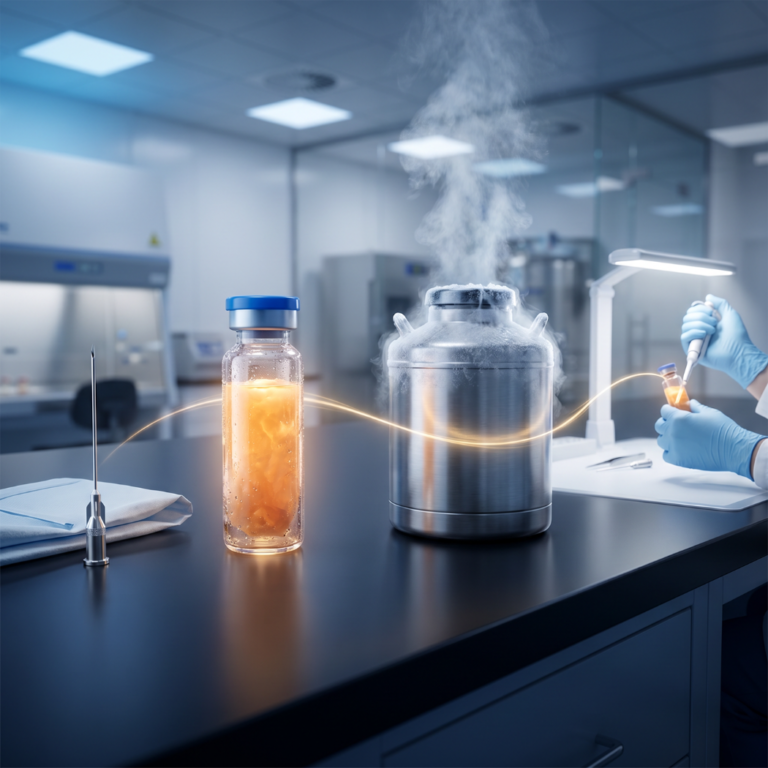
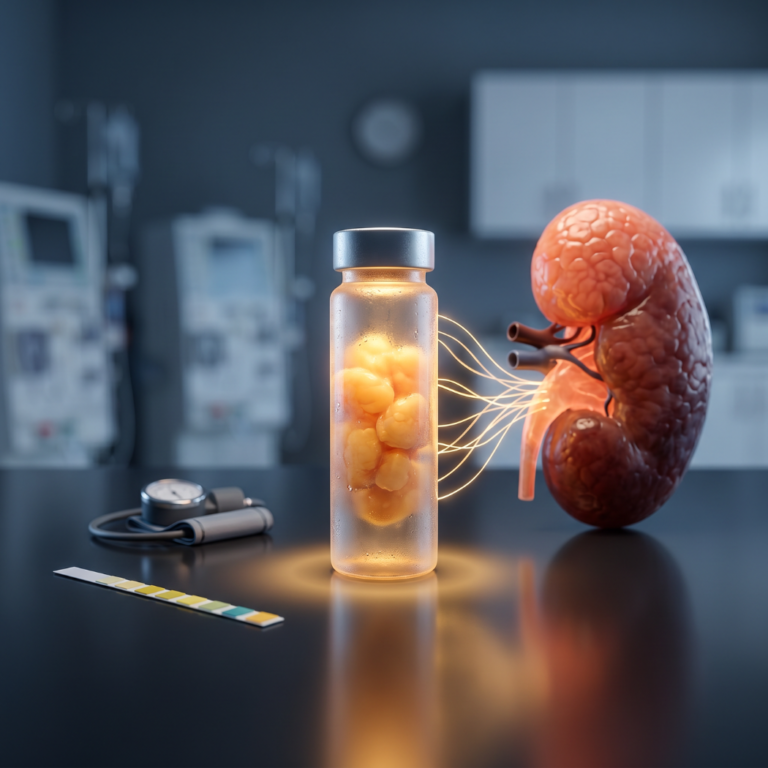
After the harvest, your provider uses the Save My Fat chain-of-custody packaging protocol to prepare the specimen for transport. The packaged specimen is shipped to L2 Bio, the FDA-registered processing laboratory, under the compliant chain-of-custody that governs every banking sample under the 21 CFR Part 1271 framework.
At L2 Bio, the tissue is processed to isolate the adipose-derived stem cell population. Viability testing is performed to assess cell yield and post-processing viability percentage. The cells are loaded into a documented vial inventory typically in the 200 to 400 range and cryopreserved using a controlled-rate protocol. The vials are transferred to liquid nitrogen storage at approximately negative 196 degrees Celsius, where the long-term cryopreservation literature has demonstrated viable cell recovery after decades of storage with maintained differentiation potential.
You do not need to do anything during this phase. The chain of custody from harvest to storage is managed by Save My Fat and L2 Bio, and the patient-side work ends when the specimen leaves the provider’s office. You will be notified when processing is complete. Save My Fat’s overview of cryopreservation viability covers the preservation step in more depth if you want to read about what happens in the lab.
After the Procedure: Recovery
Immediately after. Most patients feel completely normal immediately after the procedure. The local anesthesia will wear off within a few hours, after which you may feel mild soreness or tenderness at the harvest site, similar to the muscle soreness you feel after a bruise or minor strain. It is not unusual for patients to describe the discomfort level as lower than they expected based on how they imagined the procedure in advance.
The first forty-eight hours. Mild bruising and swelling at the harvest site is normal and expected. Avoid strenuous exercise, heavy lifting, or activities that put direct pressure on the harvest site for the period your provider recommends, which is typically forty-eight to seventy-two hours. Keep the dressing clean and dry per your provider’s instructions. Over-the-counter pain relief (acetaminophen) is typically sufficient for any discomfort, and you should confirm with your provider before taking any other medications, particularly anti-inflammatories that may slow harvest site healing. Stay well-hydrated.
When to contact your provider. Contact your provider if you experience significant swelling or expanding bruising that increases rather than stabilizing after the first day, signs of infection at the harvest site including increased redness, warmth, discharge, or fever, or pain that is worsening rather than improving after the first twenty-four hours. These are uncommon but worth flagging immediately if they occur. Minor bruising that fades over several days and mild soreness that decreases each day are normal and do not require contact.
Return to normal activity. Most patients return to desk work and normal light activity the same day or the following day. More active patients typically resume full activity within forty-eight to seventy-two hours. Follow your specific provider’s guidance, because individual factors including harvest site, tissue volume, and personal healing patterns can affect the exact timeline. Save My Fat’s complete guide to banking covers the full patient experience in more depth if you want additional reference material during recovery.
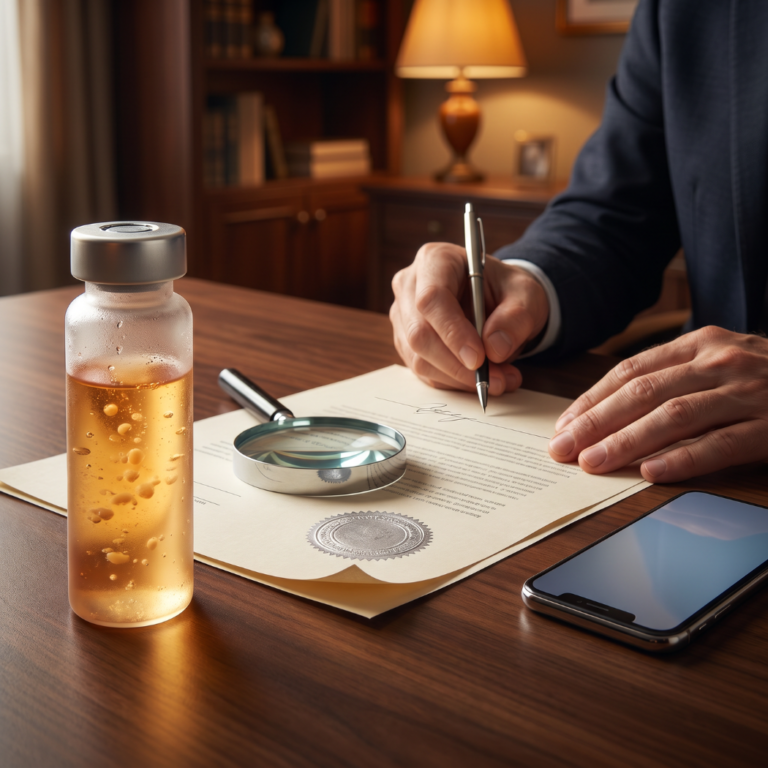
Receiving Your Viability Certificate
Within a few weeks of your procedure, you will receive your viability certificate from L2 Bio. This document records the total cell yield from your harvest, the post-processing viability percentage, the number of cryopreserved vials, and the storage confirmation and vial lot identification.
The viability certificate is your permanent record of what was banked. Keep it with your health records. It is the documentation you will reference if you ever access your cells for a clinical trial, expanded access program, or future therapy, and the published MSC biology literature supports why viability documentation matters for any future clinical application. Save My Fat’s overview of cryopreservation viability covers what the certificate represents and why each data point is useful.
Frequently Asked Questions
Will I be awake during the procedure?
Yes. The harvest is performed under local anesthesia only. You are fully awake throughout. Most patients listen to music, have a conversation with the provider, or simply relax during the twenty to thirty-minute procedure. Some providers offer distraction options (music, podcasts, video) as part of the standard procedure-room setup, and you can ask about these at check-in if a specific environment helps you stay comfortable.
Will it hurt?
The local anesthesia injection may sting briefly. After the site is numb, most patients report feeling pressure and movement but not pain. Post-procedure soreness at the harvest site is typical for twenty-four to forty-eight hours and is usually mild. Patients who have had other outpatient procedures often describe the banking harvest as meaningfully more comfortable than they expected based on the procedure label.
Can I drive myself home?
Most patients drive themselves home after the procedure. Because local anesthesia is used rather than sedation or general anesthesia, there are no medication-related driving restrictions. Confirm with your provider based on your specific circumstances, particularly if you have any conditions or medications that might affect your comfort driving immediately after a minor procedure.
How long until I know my cell yield?
L2 Bio typically completes processing and issues the viability certificate within a few weeks of the procedure. Your provider or Save My Fat patient support will communicate the expected timeline after your harvest, and the certificate will be delivered through whatever mechanism was established at your consultation.
What if the viability result is lower than expected?
Viability results vary by patient age, health status, and tissue characteristics, as the cryopreservation longevity literature documents. Your provider and Save My Fat can discuss what your specific result means and whether any follow-up is appropriate. A lower-than-ideal viability does not necessarily mean your cells are not worth preserving. It means the documentation is accurate and gives you real information about what you have banked, which is the foundation of any future decision about accessing or supplementing the storage.
Can I bank a second time later?
Yes. A second harvest is possible and some patients elect to add to their vial count at a later date. Cells from a second harvest will reflect the biological quality at the time of the second procedure, which per the published MSC biology literature will be lower than the biological quality at a first harvest performed earlier. Banking earlier preserves higher-quality cells. Banking again later adds volume at reduced quality, and both approaches are legitimate depending on the patient’s specific situation.
Key Takeaways
Banking day is a thirty-minute outpatient procedure under local anesthesia. No hospital, no general anesthesia, no dramatic recovery. The procedure itself is one of the most manageable outpatient experiences in the regenerative medicine space, which is part of why banking has become accessible to health-forward adults who might otherwise avoid any procedure classified as a surgical harvest.
Prepare by avoiding blood thinners for the period your provider specifies, wearing loose comfortable clothing, eating and hydrating normally the morning of, and bringing any intake paperwork your provider sent in advance. The preparation requirements are modest and most patients can work through them during a normal week without significant disruption.
The procedure itself moves quickly once it begins. Local anesthesia, small-bore cannula harvest from abdomen or flank, light dressing applied, done in approximately forty-five to sixty minutes total in the procedure room. Most of that time is preparation and anesthesia rather than the harvest itself, and the active harvest portion typically runs twenty to thirty minutes.
Recovery is typically mild soreness and bruising for twenty-four to forty-eight hours, return to normal light activity the same day or next day, and full activity within forty-eight to seventy-two hours for most patients. Contact your provider immediately if you experience expanding bruising, signs of infection, or worsening pain, because these are uncommon but important to flag early if they occur.
Your viability certificate arrives within a few weeks of the procedure and documents your exact cell yield, viability percentage, and vial count. Keep it with your health records. The certificate is the permanent documentation of what was banked and the starting point for any future access decision.
Questions About Your Upcoming Appointment?
Before moving forward with any appointment: adipose tissue banking is a preservation service for potential future use in FDA-regulated pathways, not a treatment or a guarantee of access to any specific clinical trial, therapy, or product. No adipose-derived product is FDA-approved for general disease treatment, and banking cannot be represented as a treatment for any condition. Follow your provider’s specific preparation and post-procedure instructions, which take precedence over any general guidance in this post. Physicians considering partnership should independently verify applicable state licensing and informed-consent requirements, particularly in Florida, Utah, and Nevada, which have stem cell-specific statutes.
To prepare your questions for the provider, visit the Save My Fat resource on questions to ask before banking. To find or review your partner provider, visit the provider page.
Save My Fat provides adipose tissue banking services in partnership with L2 Bio for laboratory operations. Save My Fat does not provide medical treatments, clinical trial enrollment, or Expanded Access services.
This article is for educational purposes only and does not constitute medical or legal advice. Legal and medical review including neurology and neurosurgery input is required before publication. Please consult your neurologist or neurosurgeon before making any decisions about neurologic treatment or research participation.